
Canning tomatoes is the perfect solution to storing the mountains of fruit that your plants are producing. It’s easy! I’ll walk you through step by step.

You know how you feel when you hold that very first vine ripened tomato of the season?
The feel of it, still warm from the sun?
The intoxicating smell?
The beautiful, brilliant red?
Is your mouth watering?
OK. Now fast forward 2 months.
Now you’re drowning in them.
You’ve put tomatoes into every recipe you can think of.
You sneak them onto the neighbors’ porches in the middle of the night.
You swear you will never plant another tomato again.
And you have no idea what in the world you’re going to do with all. those. tomatoes.
Well, my friend, I’ve got your back! Today I’m going to walk you through canning tomatoes 2 different ways: whole (or quartered if you’ve got the Big Boys), and diced.
Canning diced tomatoes and canning whole tomatoes and even canning crushed tomatoes are follow the exact same process.
One of the things I love the most about home canning tomatoes at the peak of ripeness, is that in the dead of winter when you open a jar, it tastes just like it did when you put it in there.
So if you don’t happen to have a crazy jungle tomato patch, go ahead and buy in bulk at your local farmer’s market. You’ll be so glad you did!
You may not save quite as much money as if you grew it yourself, but having really high quality, organic, you-know-exactly-what’s-in-it jars of food is totally worth any price to me!
This article from the Colorado State University Extension Office talks about the costs of home canning.
Tomatoes can be processed in either a pressure canner or a water bath canner. If you don’t have an actual water bath canner, no worries! Any deep pot will work.
It just needs to be deep enough so that the water covers the jars by 2 inches without boiling out all over the stove. Because that would just make an extra mess to clean up.
And ain’t nobody got time for that!
I’ll walk you through using both canners and you can choose which one you want to use. 🙂
The hardest part about canning tomatoes is peeling them. And that’s really not even hard, so you got this!
2 Ways to Peel Tomatoes
There are actually 2 ways to peel tomatoes. There’s an easy way and an easier way.
The easy way is to boil some water and drop the tomatoes in it for 30 seconds. Then you scoop them out and drop them in some ice water to cool.
The boiling water causes the skins to split and separate from the inside. Then you just pull off the skins and take out the core. I’ve detailed how to do that in the Homemade Enchilada Sauce post.
The easier way is to freeze the tomatoes whole. My friend Victoria at A Modern Homestead has a post on how to freeze tomatoes for easier canning months later.
You should check that out if you are about to go under…
If you are going to use frozen tomatoes, you need to let them come to room temperature before you put them in the jars. You’ll be putting the jars in simmering water and the thermal shock could shatter the jars.
No bueno.
Also, if you are going to dice the tomatoes, cut them up while they are still partially frozen. If you wait until they are thawed, they’ll get pretty mushy and hard to cut.
OK. Let’s get started!

Ingredients & Supplies for Canning Tomatoes
- pressure canner or water bath canner (or deep pot)
- canning jars: pints, 1 1/2 pints, or quarts
- rings and new lids
- lid lifter
- canning funnel
- bubble popper or thin knife
- jar lifter
- old towels to set the processed jars on
- Dutch oven or other large pot for boiling water to slip the tomato skins
- bowl or sink with ice water for cooling tomatoes after boiling
- paring knife
- bottled lemon juice (if you are using a water bath canner)
- sea salt (optional)
- and, of course, tomatoes
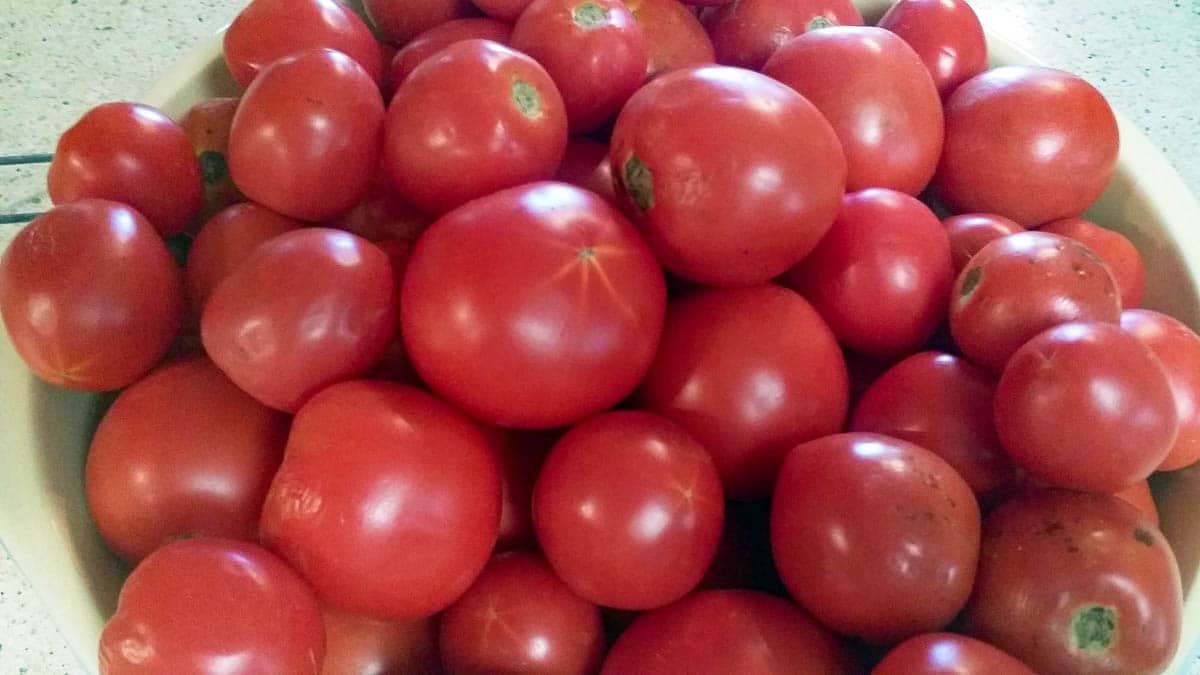
Let’s talk about the tomatoes for just a second. And type of tomato cans well, including cherry tomatoes.
Roma or paste tomatoes will have less juice in them and more meat. You’ll notice the difference after they have been processed.
With regular tomatoes there will be quite a bit of juice at the bottom of the jar and the meat of the tomatoes will be floating at the top. With the paste tomatoes there will be much less juice in the bottom.
How Many Tomatoes Do I Need?
For canning whole tomatoes, approximately 2 1/2 to 3 pounds (5 to 6 medium) will make a quart of canned. A bushel (53 pounds) will make 17 to 21 quarts.
With whole tomatoes, I usually put them in quart jars. I use the whole ones for things like chili and spaghetti sauce. It makes more sense for me to open a quart jar instead of 2 pints.
But you do what works best for you!
And if, by chance you don’t have a crazy psycho tomato patch, you can always go to your local farmers’ market.
Don’t have one of those either? No worries! You can order organic tomatoes in bulk from Azure Standard.
For canning diced tomatoes, approximately 2 3/4 to 3 1/4 pounds (6 to 7 medium) will make a quart of canned. A bushel will make 16 to 20 quarts.
For diced, a pint jar is closer in size to the can you would get at the grocery store, so that’s the one I usually use. With 2 pints to a quart, that’s 32 to 40 pints from a bushel.
Using 1 jar a week, that would give you almost enough to get you back to tomato season.
That’s always the way I look at my food storage. How many jars do I need to get me through the year until I can get some more peak of season ripeness from that fruit or veggie.
If you haven’t already, you can go here to read about why food storage is important for you and your family.
Raw Pack vs. Hot Pack
So now you need to decide if you want to raw pack (some people call it cold pack) or hot pack your tomatoes.
For tomatoes, the only difference in the 2 is really how much liquid you end up with in the jar. The texture will be the same either way.
When you raw (or cold) pack, you just peel the tomatoes and cut them and put them into the jar.
With hot pack, you actually cook them a little before adding them to the jar. Cooking them first releases a lot of the water that’s in them. Then you ladle the tomatoes into the jar. You will get less of the juice and more of the meat.
I always raw pack my tomatoes, it’s faster and easier that way. And if the recipe I’m using them in is too liquid-y, I can always cook them down.
But, honestly, I can’t think of anything I’ve had to do that with.
But I’ll give you instructions for both so you can make your own choice.
Adding Lemon Juice
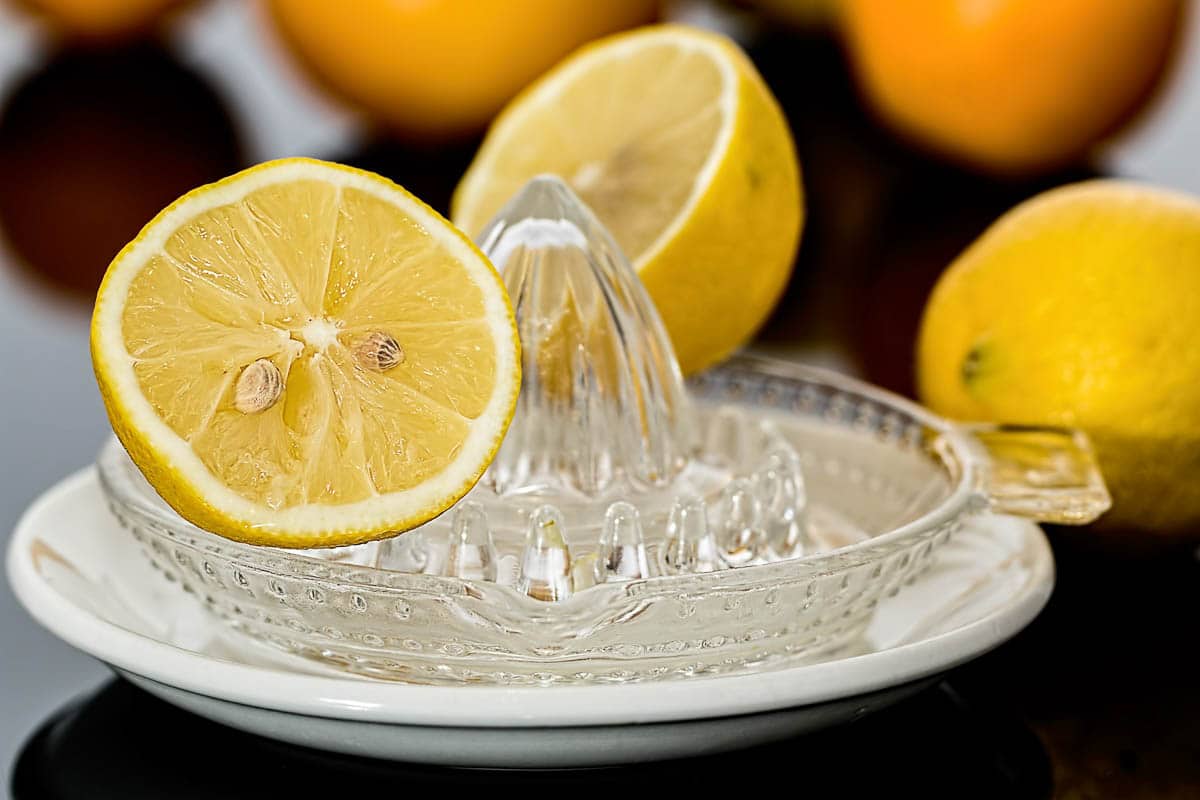
If you are going to be using a waterbath canner for your tomatoes, you will need to add lemon juice to make use there is enough acidity in the jar to kill any pesky pathogenic microbes that might be lurking.
Tomatoes used to be safely water bathed without it, but over the years hybridization has bred much of the acid out of tomatoes. So now it’s necessary.
And it needs to be COMMERCIALLY BOTTLED LEMON JUICE because that has a standard acidity level.
For pint jars add 1 tablespoon of lemon juice. 1 1/2 pints jars need 1 1/2 tablespoons, and quart jars need 2 tablespoons.
You don’t need to add the lemon juice if you are using a pressure canner.
OK. So those are the 3 things you need to have figured out before you start. Diced or whole, raw pack or hot pack, and waterbath or pressure canner.
The Process for Canning Tomatoes
In all the above scenarios, you need to prepare your jars by either washing in hot soapy water and rinsing them well, or running them through the dishwasher. You need to keep the jars warm until you use them.
The heated dry cycle on your dishwasher should keep them warm for 45 minutes to an hour.
You also need to get your lids ready. Put your new lids and rings into a pan with water and simmer gently. If you are using a pressure canner, make sure there is enough water to put into the canner.
That amount will vary depending on the size of your canner, so check your manual.
For water bath canning, put the canner on the stove and fill it 2/3 full of water. The pot of water should be simmering when you put the jars in.
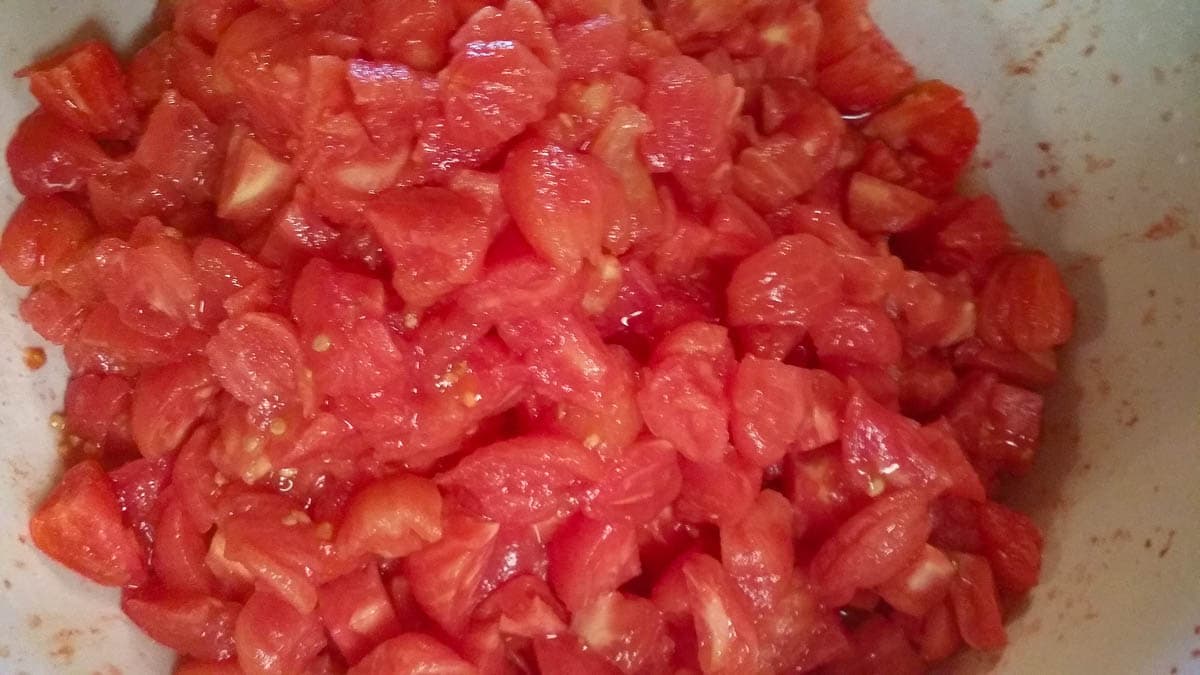
Prepare the tomatoes. Slip the skins, cut out the core, and either dice, quarter, or leave them whole if they are small enough.
Hot Pack
If you are going to use the hot pack method, put a layer of tomato pieces in the bottom of a pot that is large enough to hold them all.
Use a potato masher or the back of a ladle and mashed the tomatoes until they release juice. This keeps the rest from sticking on the bottom.
Now, put the rest of the prepared tomatoes in the pot. Bring to a boil over medium heat and boil for 5 minutes.
Stir frequently to keep the tomatoes from scorching.
After 5 minutes remove the pot from the heat.
Raw Pack
For the raw pack method, you simply put the tomatoes into the jars. Using a spoon (or your hand, like I do) press the tomatoes until they release some juice.
That also helps to fill up the jar and get rid of some big air bubbles.

Filling the Canning Jars with Tomatoes
Using your canning funnel, fill one hot jar at a time.
You can just use your hands for the raw pack, and a ladle for the hot pack.
Make sure you leave 1/2 inch headspace between the rim of the jar and the top of the tomatoes.
Using a thin knife or your bubble popper thingy, release any trapped air bubbles by sliding it down the inside of the jar. Then top off the contents with added liquid if you need to.
If you are going to add salt now’s the time. Pints get 1/2 teaspoon of salt, 1 1/2 pints get 3/4 teaspoon of salt, and quarts get a whole teaspoon of salt.
Salt will enhance the flavor of the tomatoes and help to keep the color from fading.
Wipe the rim of the jar with a clean damp cloth, and attach the lid and screw band/ring. Make sure to only tighten the ring finger tight,
When all the jars are filled and closed, put the jars into the canner of your choice.
Canning Tomatoes in a Waterbath Canner
Load the jars into the rack and lower the rack into the pot of hot water.
Make sure the jars are covered by 1-2 inches of water. Put on the lid and bring to a boil. When the canner has reached a full rolling boil, start your timer.
Pints need to process for 35 minutes, 1 1/2 pints and quarts need to process for 45 minutes at sea level. If you are more than 1,000 feet above sea level, check this altitude adjustment chart for the correct processing time.
After processing for the correct amount of time, remove the jars from the canner and put them onto a towel covered cabinet out of drafts.
Make sure to lift the jars straight up out of the canner with your jar lifter. The jars won’t be sealed yet and tilting them can cause them to spill.

Canning Tomatoes in a Pressure Canner
Put the jars into the canner and add the amount of water your directions call for.
Seal the lid and turn the heat on to high. When a steady stream of air is coming out of the vent, begin timing.
Most canners have you exhaust the steam for 5 or 10 minutes depending on the pressure you will be processing at. So check your manual for the correct amount of time.
After exhausting the air, put the weight on and bring up to 11 pounds pressure on a dial gauge canner. If you have a weighted gauge canner, use the 10 pound weight.
Again, this is for sea level. If you are above sea level, check this altitude adjustment chart for the correct pressure.
After the canner reaches the correct pressure, immediately start timing. After 10 minutes, remove it from the heat. Allow it to cool off and let the pressure drop undisturbed.
Once the pressure has dropped to zero, remove the lid, and take the jars out of the canner. Make sure you lift them straight up using your jar lifter.
The jars won’t be sealed yet and you don’t want anything to leak out.
Put them onto a towel covered cabinet out of drafts.
Checking the seals
Leave the jars undisturbed for a minimum of 12 hours. After that time you need to check to make sure the jars have sealed properly.
If they aren’t sealed, put them in the fridge and use within 2 weeks. If they have sealed properly, wipe down the jars and label and date them.
Then add them to your canning pantry and dream about all the ways you’re going to use them during the winter!
Store them in a cool, dark place and these beautiful jars of summer tastiness will last for 3 to 5 years.
So there you have it! It sounds way more complicated that it really is. And after you’ve done it one time you’ll be a pro.
What would be the first thing you use these tomatoes in? Let us know in the comments.
Blessings!
More canning recipes you should try:


Frequently Asked Questions About Canning Tomatoes
Whichever kind you have! Actually, it depends on what you are canning them for. If you are canning them to add to soups and stews, any variety works well. If you are canning them to turn into sauce for ketchup later on, the paste varieties would work better because there is less water in them and more of the “meat”.
As long as the seal is intact, canned tomatoes will last for decades. But the prevailing wisdom is that you should eat home canned goods within 1 to 2 years for the best nutrition.
