This is a series of posts that were requested by readers when I first began blogging waaaay back in 2011. It walks you through the starting the starter process one day at a time. This is day 2.
You can find How to Start a Sourdough Starter Day 1 here.

Feeding number 2
OK, here we are ready for feeding number 2.
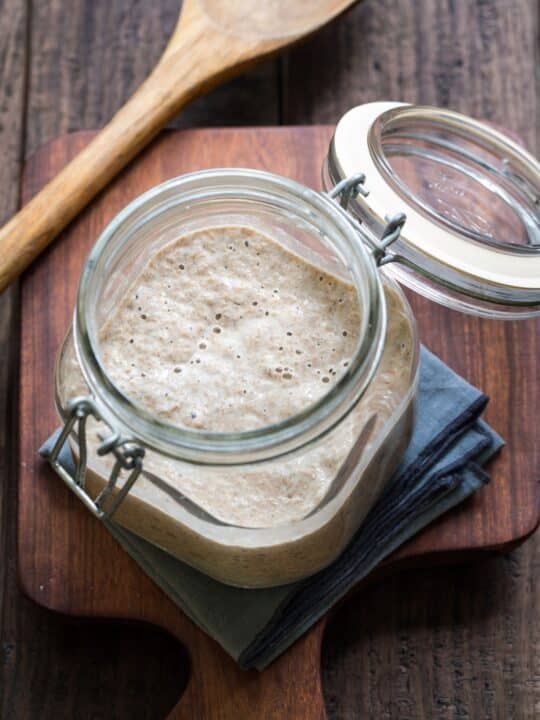
When I got up this morning, this is what my starter looked like.

See all the bubbles?
Yeah!
And notice that the hooch isn’t on the top this time, it’s close to the bottom.
Actually, there is a little bit everywhere.
Make sure you stir that back in. It’s what keeps the bad bacteria and mold from growing.
The fermentation process also begins to break down the grains in your flour which releases the vitamins, minerals, and other nutrients in the flour.
So your body is able to absorb these nutrients faster and not lose so much of them through waste.
Of course, the type of flour you use determines the amount of nutrients available.
Bleached, enriched flour has fewer natural nutrients than any other flour.
Stone ground, whole grain flours have the most.
So, the more processing, the less nutrients.
The flour I’m using for this starter is organic, unbleached white flour, but I also have one made with organic, stone ground whole wheat flour.

So, here’s a picture of the top.
See the bubbles?
This one is going really well.
Oh, and the darkish stuff is just shadows.
Really. 🙂
Now remember that yours may not look exactly like mine and that’s OK.
I have had some starters that didn’t do anything for 3 days.
Just to clarify something here in case I have confused anyone – you don’t have to make a new starter every time you make bread.
I have made several using different flours and temperatures of water and even types of water, trying to find the easiest and best way.
What I have found is that it doesn’t matter what kind of flour you use, or whether you use tap or bottled water.
The starter is going to work with pretty much anything.
The only concern would be if you don’t drink your water because of contaminants, you might want to use filtered water for your sourdough.
Since you’re going to be eating it and all.
Some instructions specify using cold water when feeding the starter. I’m not sure why, though. I usually use warm water.
But be careful, if the water it too hot, it may kill the yeast.
Now, I stir it down and remove about 1/2 of what is in the jar.
Then I add 1/4 cup water and 3/8 cup flour.
Stir it up, scrape down the sides, and put the frilly little bonnet back on.
This is what it looked like after the feeding.

And by the way, I don’t want you to drive yourself crazy over exact measurements.
I use my 1/4 cup measuring cup, fill it with warm tap water and dump it in the jar.
Then I stir in the water, dry out the measuring cup and put it in the flour jar.
I use what I’ve heard called the “scoop and sweep” method.
You “scoop” up some flour with the measuring cup and use your finger to “sweep” across the top to make it level(ish).
Then I dump that 1/4 cup of flour in the jar and refill my 1/4 cup about 1/2 way with flour and dump that in the jar for a total of 3/8 cup of flour.
Then stir it all up.
Bread making can be more of an art than a science at times.
So, don’t be intimidated by the long process here with the starter, or fret over measurements.
Just have fun!!
Feeding number 3
OK, time for feeding number 3.
This is what it looked like before I stirred it down.

So, there is more hooch and more bubbles, just as it should be.
Here is a picture inside the jar.

You can’t really see very well, (I’m using my phone for pictures), but there is a little bit of foam as well as bigger bubbles on the top.
That is perfectly OK.
In fact, that’s good!
Now, stir it down, remove about half of what is in the jar, and feed it the same amount of water and flour as before.
And here it is after feeding number 3.

I put it in a clean jar so it would be easier for you to see what it looks like.
I would not normally do that, but ya’ll are special!
OK, 3 feedings down and 11 more to go!
I’ll continue to post pictures as we go through the process, but it’s just the same thing we’ve been doing.
Stir it down, remove half, and feed.
Now, you may be asking, what in the world am I going to do with it when it’s ready?
Besides making the bread, of course.
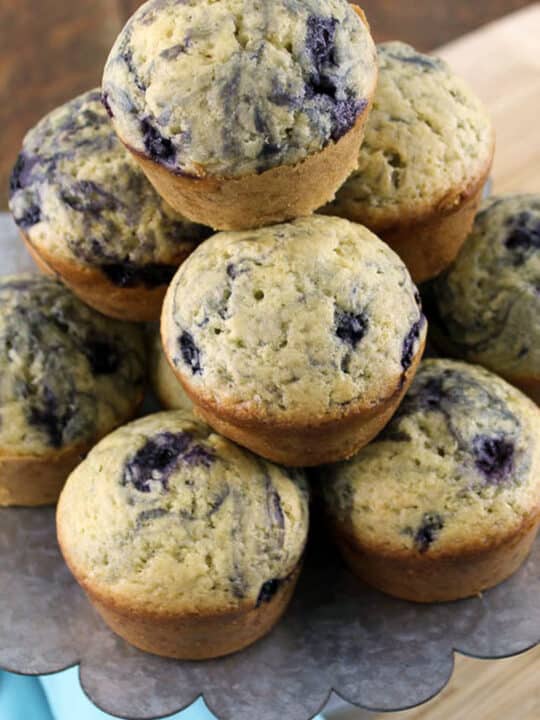
Well, I’ve made bread bowls, pizza crust, crackers, pancakes, and English muffins.
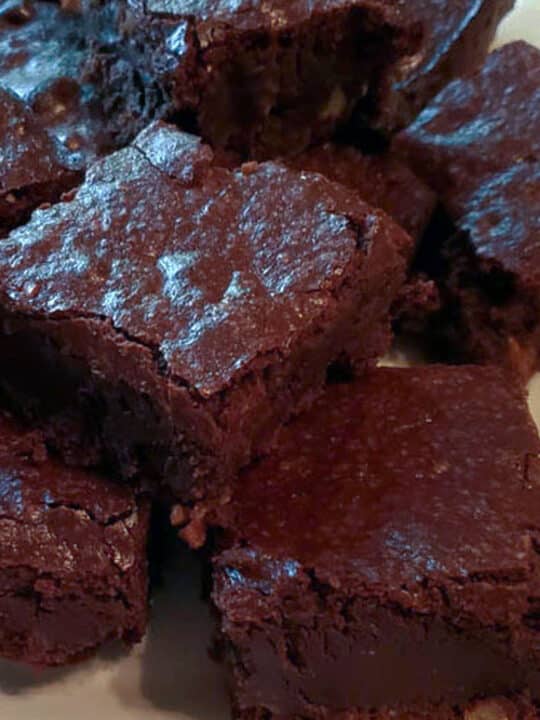
I have also made waffles, muffins, biscuits, tortillas, pita bread, and even chocolate cake.
As I take you through the starter process, I’m going to be sharing with you some things to use the sourdough in.
Blessings!