
Are you over run with green beans? Perfect! Learn how easy pressure canning green beans is using either the cold pack or hot pack methods.

Is this you?
Your green beans are jammin’.
You’ve eaten them fresh every. single. night. this week.
Maybe you’ve even made a batch of fermented Dilly Beans.
But still they keep coming.
And you know that soon you’ll be knee deep in a close encounter of the green bean kind.
What ever will you do?!?
“Here I come to save the daaaaaaaay!!!”
Or, at least help you with your beans. 🙂
Not only are green beans one of the easiest vegetables to grow, they also happen to be one of the easiest vegetables to can.
And canning just happens to be my favorite way to preserve green beans.
And now I’m gonna walk you through the process step by step.
Isn’t it cool the way that worked out?
I actually love it when the veggies start coming on so strong that there’s more than we can eat. Because that means I get to put some into my food storage for the rest of the year.
You can check out why I think food storage is so important here.
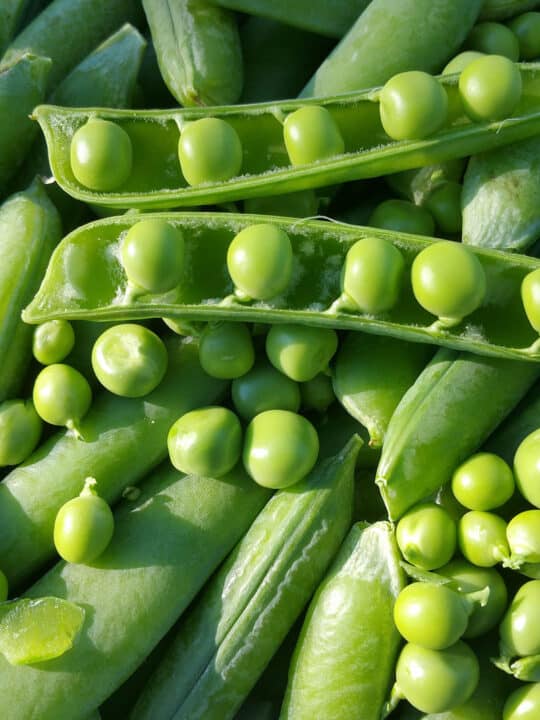
I get ridiculously happy sitting on the porch snapping beans or shelling peas.
Hopefully, you feel the same way.
But enough with the talk already! Let’s start canning.
Because green beans are a low acid vegetable, they cannot be processed in a waterbath canner. They have to be canned in a pressure canner.
Not a pressure cooker, a pressure canner. Two different pieces of equipment.
You can get approximately 2 pints or 1 quart of canned green beans out of 1 1/2 to 2 1/2 pounds of fresh green beans depending on your variety.
A bushel of green beans weights 30 pounds which turns out to be about 15 to 20 quarts or 30 to 40 pints after processing.
There are dozens (at least) of different varieties of green beans, but they all can well and they all use the same process.
But note that beans that are a little more mature than you would normally eat fresh hold up better to the canning process.
I grew a bush variety called Roma II this year so that’s what you’ll see in the pictures. This particular variety is a bush bean. If you want to grow it yourself, you can find seeds here.

How to Can Green Beans
Equipment
- Pressure canner
- Canning jars with no nicks or cracks
- New lids with rings/screw bands, either single use or Tattler reusable lids
- Lid lifter
- Bubble popper or thin knife
- Jar lifter
- Old towels
Check out my Ultimate Guide to Home Canning Essentials for links to all the stuff.
Ingredients
- Green beans, of course
- Sea salt ~ this is optional, if you choose to use salt don’t use regular table salt. Use sea salt or canning salt instead.
- Boiling water
Green beans can be canned in 1/2 pint, pint, 1 1/2 pint, or quart jars. It all depends on how many people you are feeding at a time. Half pints are great for 2 to 3 people, and pints will stretch for 6.
Instructions
Prepping the Jars and Lids
The first thing you need to do is is get your jars prepped. Wash them in hot soapy water and keep them warm.
You can also run them through a quick rinse in the dishwasher and use the heated dry cycle like I do.
That keeps my jars hot for 45-60 minutes. Which is usually plenty of time for whatever I’m canning.
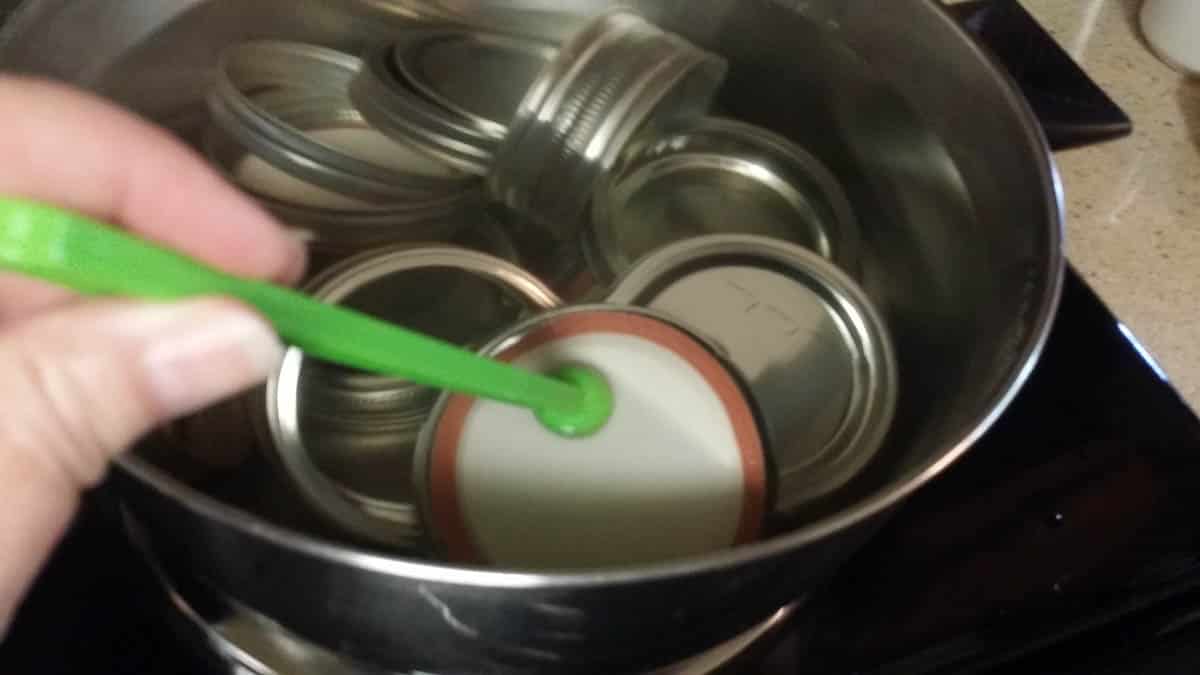
Next step is to get your lids and rings ready. For the single use lids this means I put both the flat lids and the rings into a pot and cover them with water.
Bring the water to a boil and them turn it down to a simmer. That softens the sealing compound on the lids so they can form a good seal.
For the Tattler reusable lids, follow the directions that came with them.
Prepping the Green Beans
Now you need to get your green beans ready. Fill your sink with cold water and dump the beans in. Swish them around good to get all the dirt and stuff off.
Then put them into a colander and let them drain.
Now comes the fun part!
Snappin’ beans!
To snap beans you grab the bean near the end and bend just the tip until it snaps off. If there are strings on the variety you are using, pull the tip down the side to pull the strings off.
Now do the same thing with the other end. You can either leave them whole or snap them into bite size pieces that are about 1 to 1 1/2 inches long.
I find the smaller pieces easier to can. And eat. So that’s what I do.

There are 2 methods that you can use for canning green beans. Cold pack (or raw pack) and hot pack. I walk you through both methods below.
The only difference is blanching (or heating) the beans before you put them in the jars.
During processing, most things shrink up a little as they cook and release water. Blanching allows them to shrink before you pack the jars, so you can get a little bit more of whatever you’re canning into each jar.
There are some things that I always use the hot pack for, and some that don’t make that much difference. It all depends on how much water is actually in something.
For green beans, I personally use the cold pack method because it’s just a little faster. But they will both work perfectly.
Cold Pack/Raw Pack Method for Canning Green Beans
When the beans are prepped, bring a large kettle or pot of water to a boil.
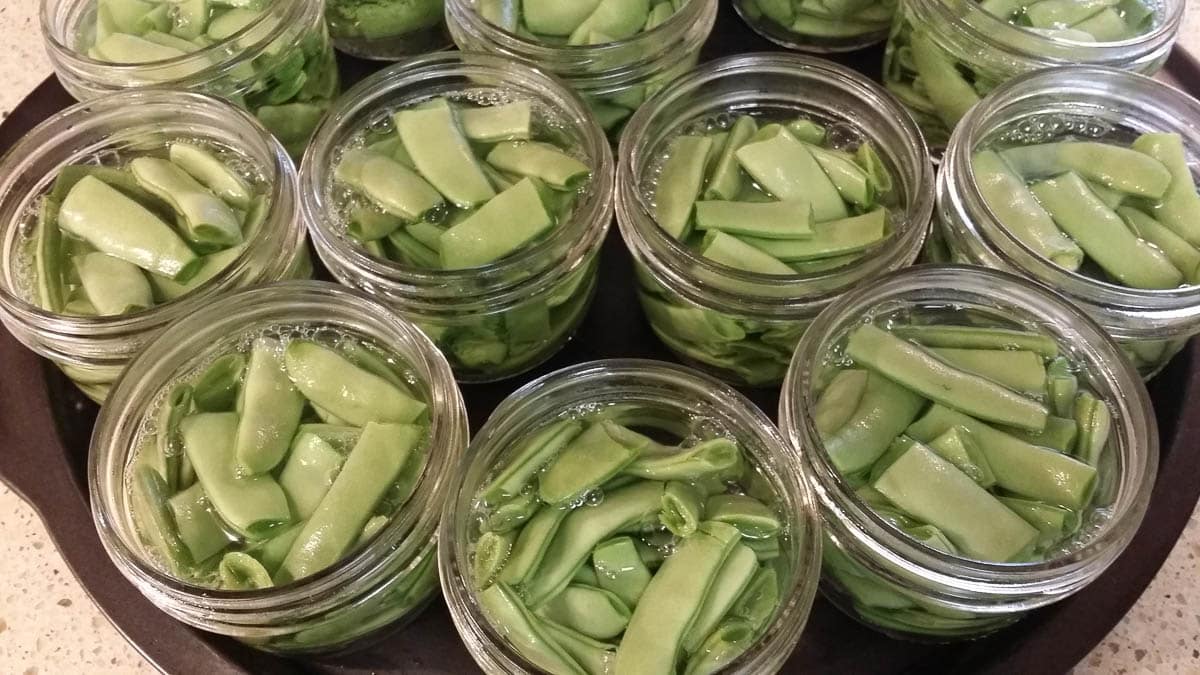
While that is heating, get your hot jars and begin to fill them. Pack the green beans tightly into the jars.
You want them packed pretty good because they will shrink a little during processing and you don’t want mostly water in your jars.
Make sure that you leave a 1-inch head space between the top of the beans and the rim of the jar.
Go ahead and add your sea salt to the jars now. If you are using 1/2 pint jars add 1/4 teaspoon. Add 1/2 teaspoon to pints, 3/4 teaspoon to 1 1/2 pints, and 1 teaspoon to quarts.
After you’ve added the salt you need to fill the jars with that water that’s been boiling. Make sure you leave that same 1 inch of headspace.
Now use your bubble popper thingy or a thin knife to run around the inside of the jar to remove any air bubbles. Then top off the jars with water if you need to.
Then wipe off the rim of the jar and attach the lid.
Go through that same process with all of the jars and put them into the canner.
Hot Process Method for Canning Green Beans
Follow the previous directions for prepping jars, lids, and beans.
Place the snapped beans in a strainer basket, a large sieve, or tie them into a piece of cheesecloth. (Or you could just toss them in the pot and use some tongs to fish them out, but the other way is easier.)
Blanch the beans by submerging them in a large pot of boiling water for 5 minutes. Remove the beans and let them drain for a minute.
Next, pack your jars loosely with the beans. Here you’re packing them loosely because they have already shrunk up from the blanching. Make sure you leave a 1 inch headspace.
Add the salt to each of your jars. Add 1/4 teaspoon to half pints, 1/2 teaspoon to pints, 3/4 teaspoon to 1 1/2 pints, and 1 teaspoon to quarts.
Grab a ladle and cover the beans with the boiling water that you blanched them in. Don’t forget the 1-inch headspace. Now remove the air bubbles, and top off the jars with water if you need to. Wipe the rims of the jars, and attach the lids.
From here, continue with the directions below.
Pressure Canning Green Beans
Add the proper amount of hot water to your canner. It’s usually 2 to 3 inches, but check the directions that came with your particular canner.
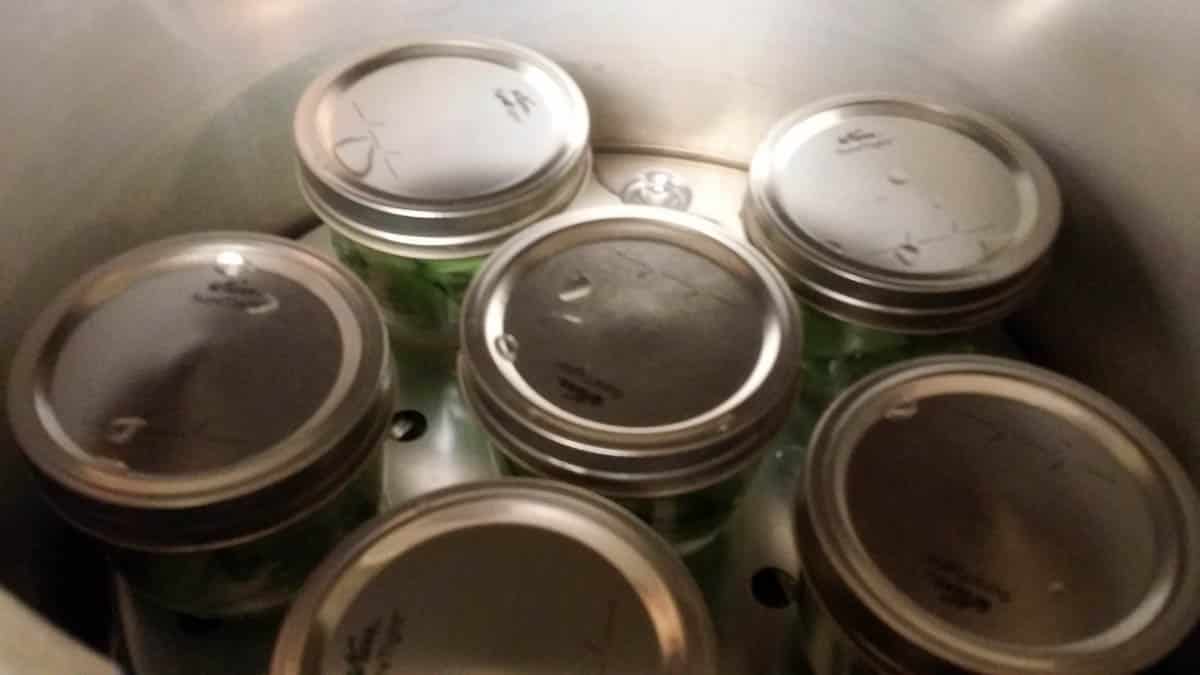
Put the jars in the canner. If you have a tall enough canner and an extra rack, you can double stack the jars. I always try to stagger the layer on top so they aren’t directly over the ones on the bottom.
Then close and seal the lid.
Turn the heat to high and allow the steam to vent for the specified amount of time. Again, that time is going to depend on the canner and the pressure you need to achieve.
Once the steam has vented, add the weight. If you are using a dial gauge canner, just watch the dial. Once it’s almost up to pressure turn the burner down slightly.
If you are using a weighted gauge canner, you will know it’s up to pressure when the weight begins to jiggle consistently. Adjust your burner to keep it rocking slightly.
Bring the canner up to pressure, and start your timer.
Process Time at 10 pounds of pressure: Pints and 1/2 pints need to process for 20 minutes, 1 1/2 pints and quarts need 25 minutes.
Don’t forget to adjust the pressure for your altitude. Use this altitude adjustment chart.
After processing for the required length of time, remove the canner from the heat so it can cool down. Follow the directions that came with your canner.
Never run cold water over your pressure canner! The sudden drop in pressure will cause the jars to explode!
Sorry to shout, but I’ve seen crazy things on the internet lately…remember, pressure canner, not pressure cooker!
Once the pressure has dropped to zero, carefully open the canner with the lid facing away from you. Otherwise you’ll get a face full of steam. And that’s no fun!
Use the jar lifter to carefully remove the jars straight up out of the canner. Don’t tilt the jars because they may not be sealed yet and you don’t want anything to leak out.
You need to put the jars on a double layer of towels somewhere that isn’t directly in a cold draft. If it’s drafty, throw another towel over the top to protect the jars.
Make sure the jars are somewhere that isn’t going to be in your way. Cuz now they need to sit undisturbed for 12 to 24 hours. If you do your canning in the evening, you can let them sit over night so that’s not really a problem.
Checking the Seals
After at least 12 hours you can check the seals. If any of the jars didn’t seal you can reprocess them with new lids. Check the rim of the jar to make sure there aren’t any nicks that made the seal fail.
If you don’t want to reprocess, no worries. Just stick it in the fridge and eat the contents within a week or so.
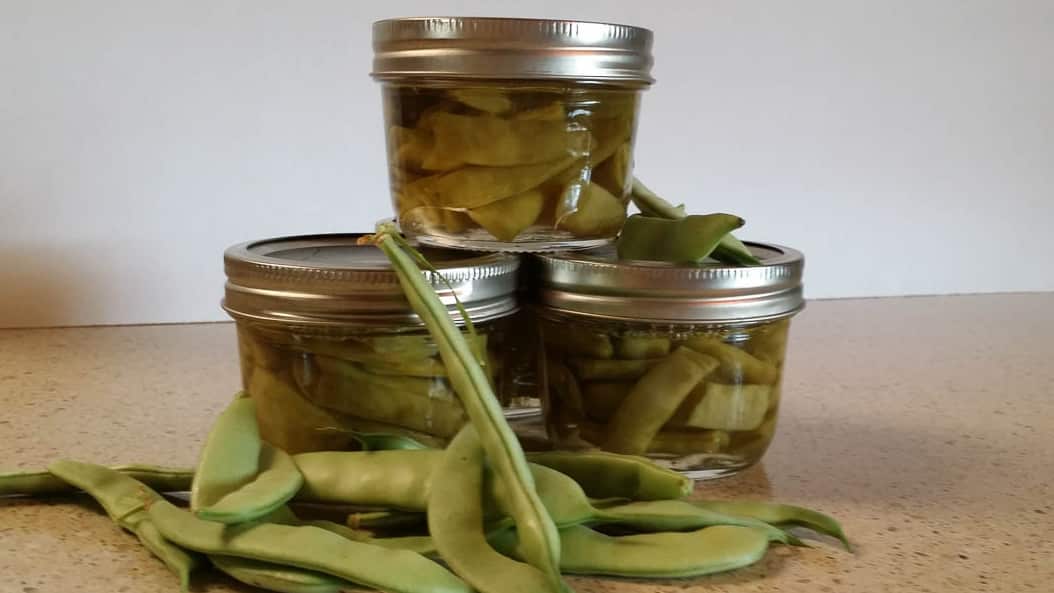
Storing your Canned Green Beans
The last step is to remove the rings and wash them and wipe down the jars. Make sure you label and date the jars and add a batch number if you do more than 1 canner load. You can use stick on labels, or you use a sharpie to write on the lid.
For the best results, store your canned green beans in a cool dark place. They can be stored for up to 2 – 5 years, depending on conditions, before they begin to deteriorate.
Never use home canned food from storage that has a broken seal! When in doubt, throw it out!
Using your Home Canned Green Beans
These green beans make a perfect side dish for just about anything. To use, simply pour a jar of beans with the liquid into a saucepan and heat.
You can jazz them up a bit by sprinkling them with almonds or sesame seeds or even a bit of crumbled cheese.
Or boil some new potatoes and add the beans to those after draining.
You can also add them to soups or stews.
Or just maybe you want to make some from scratch Green Bean Casserole.
However you serve them, it’s all good!
What’s your favorite way to dress up green beans?
Blessings!
Always check with the National Center for Home Food Preservation for up to date canning guidelines.Always check with the National Center for Home Food Preservation for up to date canning guidelines.

Frequently Asked Questions About Pressure Canning Green Beans
Properly sealed and stored canned goods will last decades. Most people suggest eating within 2 years for the best nutrition.
No. Green beans are not acidic enough to safely can in a waterbath canner.
You do not. And I typically don’t because it takes more time to blanch them first.
More canning recipes you should try:


Canning Green Beans
Equipment
- Pressure Canner
- Jars and rings
- New lids
- Canning Tools
Ingredients
- green beans ~ about 8 pounds of fresh green beans gives you a canner load of 8 pints
- filtered water
- sea salt optional
Instructions
Getting Prepped
- Prepare your jars. Make sure they are clean and keep them hot until needed. Prepare your lids following the manufacturer’s instructions.
- Put the green beans in the sink with enough water to cover. Swish them around in the water to wash off any dirt.
- Snap the ends off and snap or cut into bite sized pieces approx. 1 to 1 1/2 inches
Cold (or Raw) Pack Method
- In the cold pack (or raw pack) method, pack the green beans into one hot jar at a time leaving a 1-inch headspace.
- Fill the jar with boiling water, leaving 1" headspace. Remove the air bubbles and top off if neccesary.
- Wipe the rims with a clean, damp cloth, and seat the lids.
- Put on the rings, tightening them to finger tight.
Hot Pack Method
- In the hot pack method, blanch the green beans in boiling water for5 minutes, then pack them into the hot jars, leaving 1-inch headspace.
- Fill the jars with the boiling blanching water. Remove bubbles and top off if necessary.
- Wipe the rim of the jar, seat the lids, and put the rings on finger tight.
In a Pressure Canner
- Add the amount of water to your canner that your directions tell you to.
- Put the jars in the canner, then put on the lid and lock it.
- Exhaust the air for the length of time specified in your instruction manual.
- Add the weight and process at 10 pounds of pressure for 20 minutes for half pints and pints, and 25 minutes for 1-1/2 pints and quarts.
- Make sure you adjust pressure according to your altitude.
- After processing time, remove the canner from the heat and allow to cool on it's own. When the pressure has dropped to zero, carefully remove the lid.
After Processing
- After processing, remove the jars from the canner lifting the jars straight up. Put the jars on a towel covered cabinet out of drafts, and leave undisturbed for a minimum of 12 hours.
- After 12 hours, check the seals. If the seals are good, remove the rings, wash the jars, and label and date them.
- If the jars are not sealed, you can reprocess them with new lids or simply refrigerate and use within 2 weeks.
I’ve always been intimated by canning. Thanks for sharing such a helpful article!
I’m glad you found it helpful!
These really are the easiest things to can – especially for people who are new to pressure canning. I think we worry a little too much about using the pressure canner. There are some things that can go wrong, but they hardly ever do, and the pressure canner opens up a world of items to keep stored. Kudos to you for making the process very, very clear!
Thanks, Tessa! I appreciate it.
Great article and so informative! I grew up eating canned green beans from Kentucky 🙂
Thank you, Hannah.
I love canning green beans! They are pretty on the shelf and taste amazing. Not to mention I know exactly what happened to that bean from seed to shelf
I agree, Leigh! That’s exactly why I love canning, too!
This is so helpful! I’m hoping to branch out into pressure canning this year, but have been nervous. Your post was really helpful and made it seem easy. Our favorite canned vegetable is green beans so it’d be great to make those myself!
Thanks, Rachael! I’m so glad you found it helpful!
great instructions, clear and concise thank you