
Canned black beans are a staple for Mexican food lovers. Follow along with this step by step tutorial and add some to your canning pantry!

If you are a Mexican food fan, this one should be right up your alley!
Canning your own black beans gives you a ton of quick options, with the peace of mind that comes from knowing exactly what’s in the jar!
This canning black beans recipe is pure simplicity! Just beans, water, and a dash of sea salt. That’s it! That way you can add spices for flavor when you use them, and you’re not locked into a specific taste.
Being the Mexican food fanatic that I am, I always have these on hand. And I tend to can these 2 and sometimes 3 times a year.
I’ve learned that I can’t have too many of these in my canning pantry!
I use these in taco soup, enchiladas, and mixed with rice as a side dish.
You can turn them into refried beans for burritos and layered dips, too!
And you can even sneak these into baked goods. Sshhh!
I know, right?
That’s really sneaky…
There are lots of recipes that use cans of black beans, so now you can always have plenty on hand.
If you’re new to canning or just need a refresher, you can go here for information and general safety guidelines.
Canning Black Beans
Yield: 1 ½ cups dried beans = 1 quart
Ingredients and Equipment
- 3 pounds black beans (for a full canner load of 8 pints)
- Sea salt
- Water for soaking
- Sea salt
- Pressure canner
- 8 pint jars with rings
- 8 new lids
- Large jar or pot for soaking the beans
- Large pot for heating the beans
- Canning funnel
- Bubble popper (or thin knife)
- Lid lifter
- Jar lifter
- Old towels
NOTE: Beans must be processed in a pressure canner!
Pick through the beans and get rid of rocks and broken beans and beans with holes in them.
Then rinse the beans under running water in a colander.
Prepping/Soaking Beans
This is where the “no gas” thing comes into play.
Beans can cause all kinds of problems for some people. It has to do with how fast we can digest the beans. Which is a result of our personal gut health.
But that’s a topic for another time.
Basically, if we don’t digest the beans quickly enough, the starch in the beans begins to ferment.
Fermentation causes the release of gases. Which causes us to have bloating. And gases…
Which is unpleasant.
For everyone…
To get around that, beans have to be soaked.
In a nutshell, soaking beans begins to break down the outer coating of the bean so that we can digest it faster. And it allows our bodies to absorb the nutrients better as well.
And that’s a win for everyone!
So here’s how to do it.
Put the rinsed beans in a large pot or gallon jar. Add about a tablespoon of baking soda.

Then add enough water until it covers them by at least 3 inches.
Dried beans absorb a huge amount of water. And they expand. So make sure they have plenty of room.
I often use a gallon jar to soak my beans, and I just fill it to the shoulder with water.
Let the beans soak for 10 to 12 hours or overnight.
I usually put them on to soak and then go to bed.
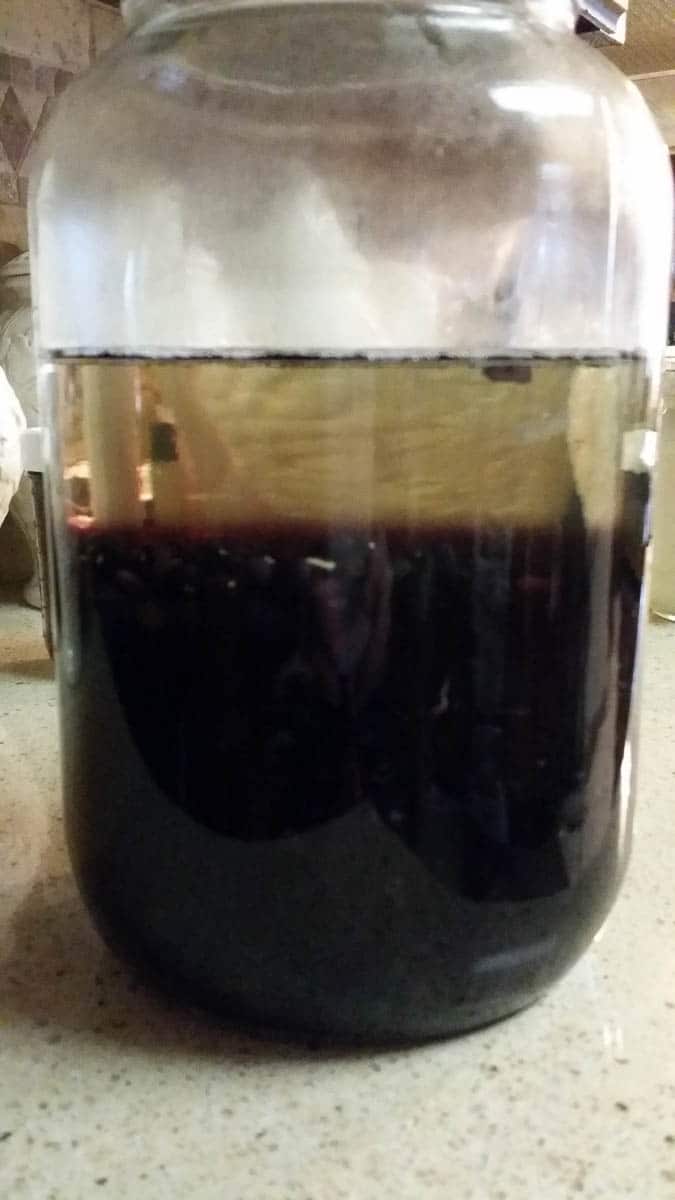
See how much more room the beans are taking up in the jar?
Now that the soaking is done, let’s get those guys canned!
Hot Pack Method for Canning Black Beans
Prepare your jars and lids and keep them hot until needed. Check the air vent and coverlock on the canner lid to make sure they are not blocked.
After soaking, drain the beans and discard the soaking water. Now rinse them again.
Put the beans in a large pot, cover with water, and bring to a boil. The water will start to foam a little bit.

Reduce heat to low, cover pot and simmer the beans for 30 minutes.
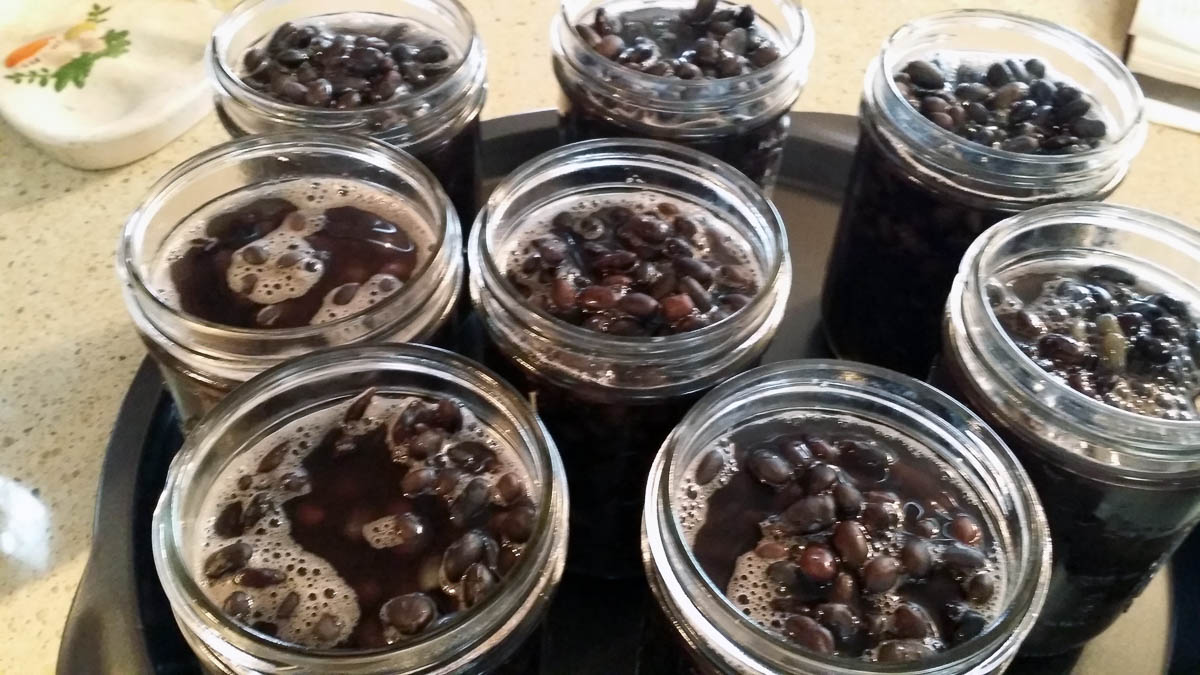
Using your canning funnel, spoon the hot beans into hot jars, leaving 1 inch headspace.
Do not pack them in tightly or shake them down. The beans will still expand a bit during processing.
If you are adding salt, use ½ teaspoon in pints, ¾ teaspoon in 1 ½ pints and 1 teaspoon in quarts.
Now ladle the cooking liquid over the beans leaving 1 inch headspace. And release the trapped air with a thin knife or bubble popper.
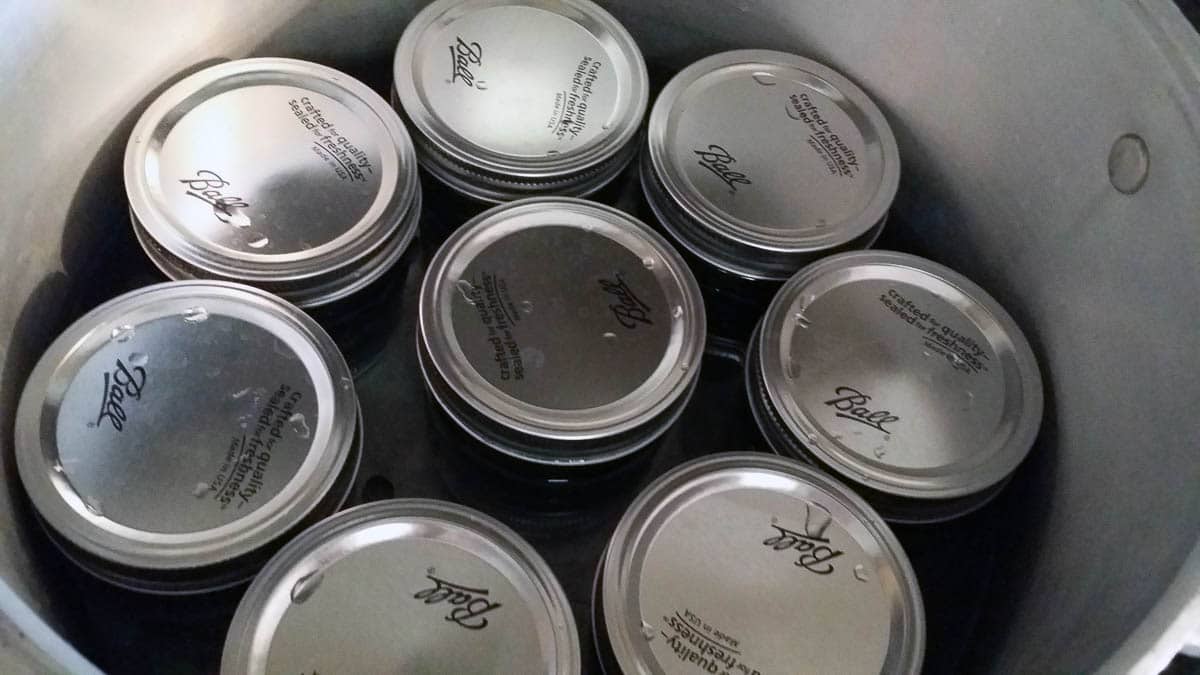
Wipe the rim of the jar with a clean dry cloth or paper towel to make sure it’s clean.
With your lid lifter, pull out the lids and put them on the jars. Screw the rings on finger tight.
And now take that water the lids and rings were in and pour that into the canner, adding a splash of white vinegar if you have hard water.
Then put the jars into the canner.
Processing Black Beans
Put the lid on and seal it and turn the heat to high.
Allow the canner to vent for the specified length of time for your canner.
Now put the regulator on the air vent and bring it up to pressure.
Once it has reached the required pressure, start your timer.
Process pints at 10 pounds pressure for 75 minutes, process 1½ pints and quarts at 10 pounds pressure for 90 minutes.
Don’t forget to adjust the processing pressure for your altitude.
When the processing time is up, turn off the heat and allow the pressure to return to zero.
Once the pressure is zero, remove the regulator and wait another 5 to 10 minutes before unsealing the lid.
Make sure the lid is facing away from you when you open the canner.
After processing, remove the jars from the canner and allow to sit undisturbed for a minimum of 12 hours.

After 12 hours, check the lids to make sure they have sealed properly, wash and label the jars, and put them away.
Storing Black Beans
After canning your black beans you’re gonna need a place to stash ’em.
If you are lucky enough to have a big pantry, yay!! Just stick them in there.
If not, find a cool dark place to put them. I’ve put them under beds and in closets. Just make sure the closets aren’t on an outside wall or close to a heat source.
Ideal storage conditions are cool (temps between 55°F and 65°F), dry, and dark.
Properly stored beans will be perfectly fine for 3 to 5 years.
How to Cook with Home Canned Black Beans
Now that you’ve finished canning your black beans, what can you do with them?
For any recipe that calls for a can of black beans, I substitute one pint of my home canned beans.
For an easy taco soup recipe I use 1 pint of canned hamburger meat, 1 quart of beef broth, 1 pint of these black beans, 1 Tbsp dried minced onion, and 2 Tbsp Mexican seasoning.
Combine it all in a medium saucepan and bring to a boil. Garnish with shredded cheddar cheese and a dollop of sour cream. Fast and delicious!

More canning recipes to stock your pantry:


Canning Black Beans
Equipment
- Pressure Canner
- Pint jars and rings
- New lids
- Canning Tools
Ingredients
- 3 pounds black beans for a full canner load of 8 pints
- Water for soaking
- Sea salt
Instructions
- Pick through the beans and get rid of rocks and broken beans and beans with holes in them and rinse well under running water.
- Place rinsed beans in a large pot or gallon jar. Add1 tablespoon of baking soda.
- Add enough water to cover by 3 inches.
- Let soak for 10 to 12 hours.
- Prepare your jars and lids and keep them hot until needed. Check the air vent and overlock on the canner lid to make sure they are not blocked.
- Drain the beans and discard soaking water. Rinse under running water.
- Put the beans in a large pot, cover with water, and bring to a boil.
- Reduce heat to low, cover pot and simmer the beans for 30 minutes.
- Using your canning funnel, spoon the hot beans into hot jars, leaving 1 inch headspace. Do not pack them in tightly or shake them down. The beans will still expand a bit during processing.
- If you are adding salt, use ½ teaspoon in pints, ¾ teaspoon in 1 ½ pints and 1 teaspoon in quarts.
- Ladle the cooking liquid over beans leaving 1 inch headspace. Release the trapped air with a thin knife or bubble popper.
- Wipe the rim of the jar with a clean dry cloth or paper towel. Place lid. Screw rings on finger tight.
- Put proper amount of warm water in canner, adding a splash of white vinegar if you have hard water.
- Place jars in canner. Seal the canner lid and turn heat to high.
- Allow the canner to vent for the specified length of time for your canner.
- Now put the regulator on the air vent and bring it up to pressure. Once it has reached the required pressure, start your timer.
- Process pints at 10 pounds pressure for 75 minutes, process 1½ pints and quarts at 10 pounds pressure for 90 minutes.
- Don’t forget to adjust the processing pressure for your altitude.
- When the processing time is up, turn off the heat and allow the pressure to return to zero.
- Once the pressure is zero, remove the regulator and wait another 5 to 10 minutes before unsealing the lid.
- Make sure the lid is facing away from you when you open the canner.
- After processing, remove the jars from the canner and allow to sit undisturbed for a minimum of 12 hours.
- After 12 hours, check the seals, wash and label the jars, and put them away.