
Have you ever thought about making your own homemade cultured buttermilk? It’s so simple! Let me walk you through the process step-by-step.

Today I’d like to talk to you about buttermilk.
“Uhm, why?”
That’s what you may be thinking.
Because I use it a lot. And it’s good for you. shh
It’s my leavener in biscuits, waffles, poundcake, soda bread, and other baked goods. I use it for homemade ranch dressing, in my smoothies…I use it a LOT.
There’s just something about that tangy flavor that makes things taste better! The tang comes from lactic acid. And the lactic acid comes from the culturing process. Which is what I’m about to teach you to do.
Since I was already getting fresh milk every week, I decided to try my hand at making my own homemade buttermilk.
Easiest. Thing. Ever!
And I’m going to tell you how to do it.
Right after we talk about what buttermilk actually is…
I just always assumed buttermilk was what was left over after you made butter. I vaguely remember making butter in a quart jar in Girl Scouts.
We all sat in a big circle and passed the jar around shaking it and singing the Butter Song. Then the leaders poured off all the not-butter stuff.
And I thought that was buttermilk.
And while that making-butter-leftover-stuff from the butter churn might have used to have been called buttermilk, what we call buttermilk nowadays is actually a cultured dairy product much like yogurt.
So to make buttermilk, you simply introduce a specific culture to milk and let it do its thing.
There is an easy way to do this and an easier way to do this. There’s really not a hard way to do this. I fact, it’s so easy I can’t even bring myself to call this a recipe.
Which is good. I like easy ways to do things. Especially good-for-me things.
So let’s talk about the easier way first.
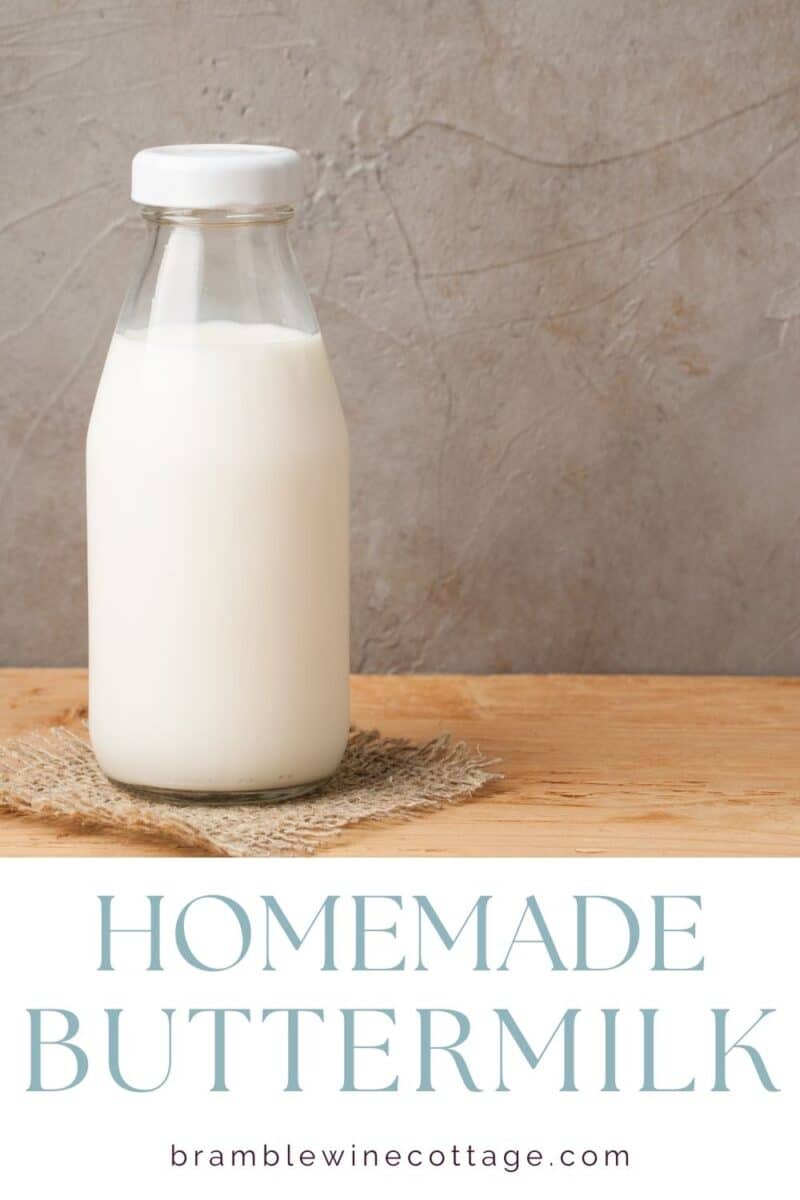
How to Make Homemade Cultured Buttermilk:
Ingredients and Equipment
You need whole milk (full fat milk) and you need active culture buttermilk that you can buy at the grocery store. And that’s all.
Oh, and a quart jar.
And a lid for the quart jar.
But that’s all.
Except maybe a spoon.
And a 1/4 cup measuring spoon.
But that’s all.
Really.
Ready? OK.
Listen carefully.
Take the lid off the jar.
Pour 1/4 cup of active buttermilk culture in the jar.
Now fill the jar to the shoulder with regular milk.
And stir.
Or shake the jar up.
Then put the lid on the jar.
I suppose if you are going to shake the jar instead of stir, you should probably put the lid on first. Oops.
Culturing your buttermilk
Now let your buttermilk sit in a warm (70-77 degrees F) spot for 12-18 hours. And forget about it.
But just for 12-18 hours.
You seriously don’t want to forget about it for, say, a week or so.
You really don’t.
So it’s a good thing to have it where you will see it, but not fiddle with it.
The cultures like to be left alone when they’re multiplying.
Must be a cultural thing.
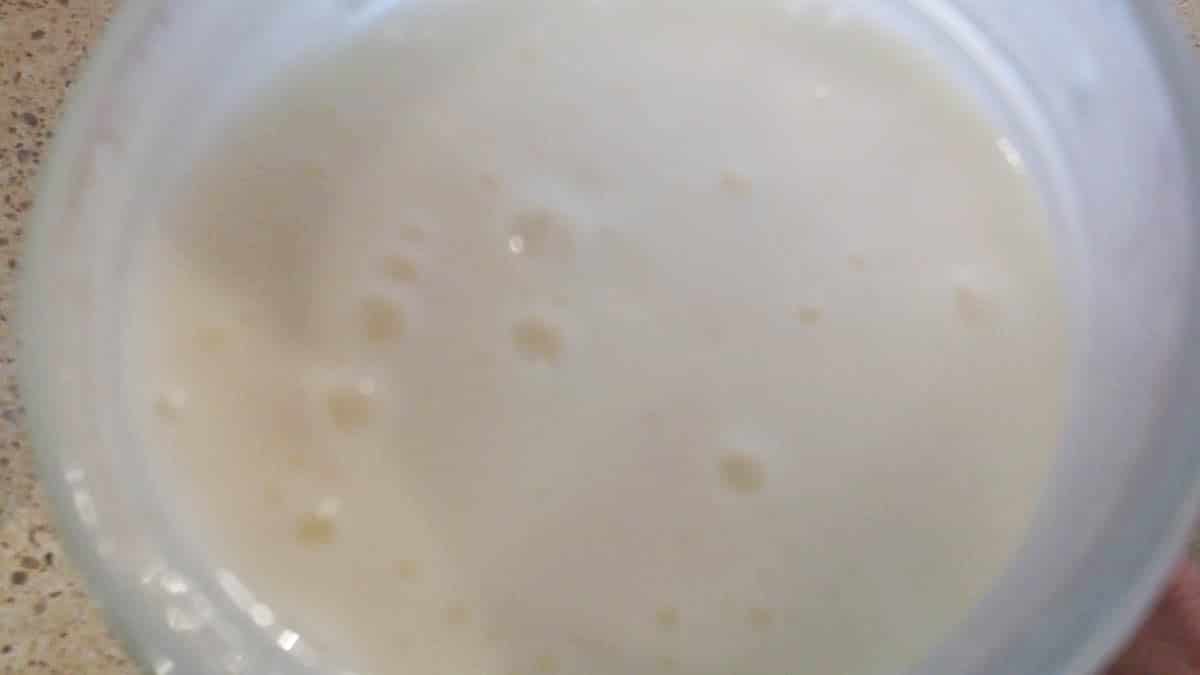
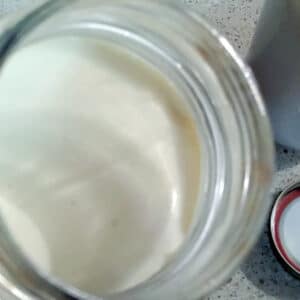
So, after 12-18 hours, if you tip the jar it should a thicker texture and be buttermilk-y.
Now put it in the fridge for 6 hours before you use it.
Ta-da!
Done!
When you want more, take a 1/4 cup of that batch, put it in a jar, add milk to the shoulder, and do the James Bond thing.
Ya know – shaken, not stirred.
Or stir it.
Either way.
And let it sit for 12-18 hours.
You should be able to do that for a long time if you make a new batch once a week. That keeps the cultures really strong.
And the cultures actually help to preserve the milk. Buttermilk lasts practically forever.
So, if you don’t use enough to make a new batch every week, I would suggest you use the easy way.
This way uses a purchased culture from a cheesemaking place. I like to get my cultures from Cultures for Health. You can find their buttermilk culture on Amazon here.
You use the culture to make what’s called a “mother culture”.
And in an aside, I had teenagers when I first started doing my own cheese and dairy, and the “yo’ mama” jokes and the cutting the cheese jokes were done. to. death.
But I digress.
The Mother Culture
The mother culture can be frozen and pulled out to use when you’re ready to make a new batch.
It’s easy.
No pressure.
It just hangs out at freezer camp til you go get it.
I freeze mine in ice-cube trays in 1 Tablespoon cubes.
Then I use 1 Tablespoon of culture per cup of milk. Ish.
I put 3 cubes in a quart jar and let them melt.
Add milk to the shoulder.
Cap.
Shake.
Sit.
Chill.
Easy peasey.
See what I mean? Easy and easier.
To make a mother culture with pasteurized milk, you just slowly heat the milk to 70-77° F, put it in a jar, add the culture, mix well, put a lid or other cover on it, and let it sit on the counter for 12-24 hours in a warm (70-77° F) place.
If it has thickened after 12 hours, go ahead and put it in the fridge to chill.
If the culture is still not thick after 12 hours, let it sit longer. Up to 24 hours.
Even if it’s not thick at 24 hours, it’s still cultured and will make buttermilk. Put it in the fridge and let it chill for at least 6 hours before you use it.
Using the Mother Culture
After it has chilled for 6 hours, put 3 Tablespoons of the mother culture in a quart jar. Add milk to the shoulder (that’s 3ish cups of milk).
Mix, cover, and let sit for 12-18 hours in a warm spot.
Voila!
Homemade cultured buttermilk.
Chill for 6 hours before using.
I freeze what’s left in 1 Tablespoon portions in an ice cube tray.
You need 1 Tablespoon of the mother culture per cup of milk to make homemade cultured buttermilk.
So you could always just make 1 cup at a time if you wanted to.
When I get down to only 3 cubes left, I use them to make another batch of the mother culture to freeze.
It works like that for a really long time.
If you are using raw milk fresh from the farm, you will need to pasteurize it to make the mother culture.
That helps to keep the buttermilk culture pure and helps it last longer.
Heat the milk slowly to 160° F. Allow to cool to 70-77° F. Put into a jar, add the culture, mix and let sit for 12-24 hours.
Continue with the previous instructions.
See, I told you it was easy to make your own buttermilk!
And easy-er…
What is your favorite way to use buttermilk?
Blessings!
More cheese and cultured dairy recipes for you to try:


Homemade Cultured Buttermilk
Ingredients
- 1/4 cup Active culture buttermilk
- 3 3/4 cups Whole milk
Instructions
- Put the buttermilk in a quart jar then add the whole milk
- Stir or shake the jar to mix well.
- Put in a warm (70 – 77°F) place to culture for 12 to 18 hours.
- After it has thickened, chill for 6 hours before using.